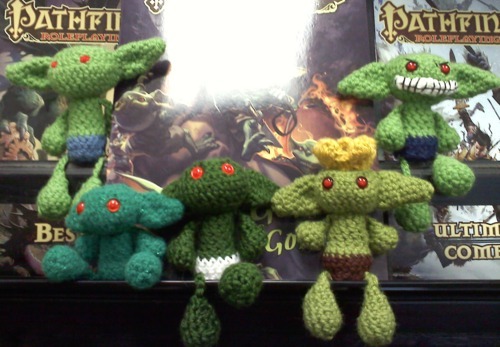
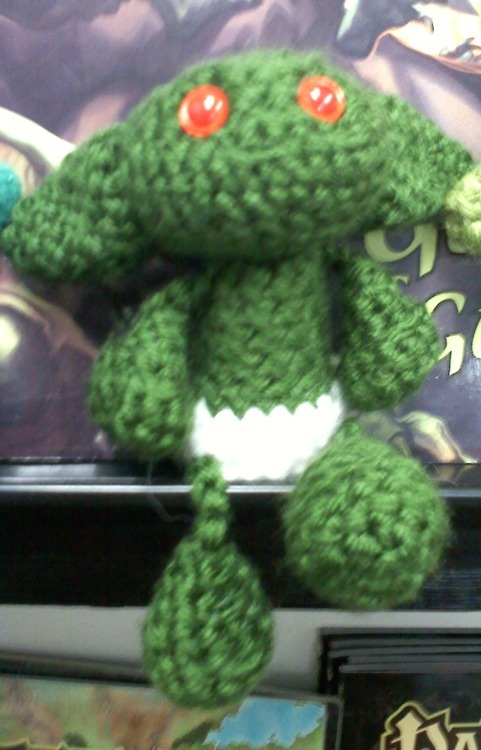
Photo taken on the Pathfinder bookshelf at local gaming store, Dungeon's End
Do you play Pathfinder? Do you know someone who does?
For those of you who don't know, Pathfinder is a role-playing game derived from the Dungeons & Dragons 3.5 system. Since Paizo, the company who design Pathfinder, first did so, Pathfinder has overtaken D&D 4th edition as the D20 system of choice for many gamers.
And why is it they have succeeded ?
Goblins.
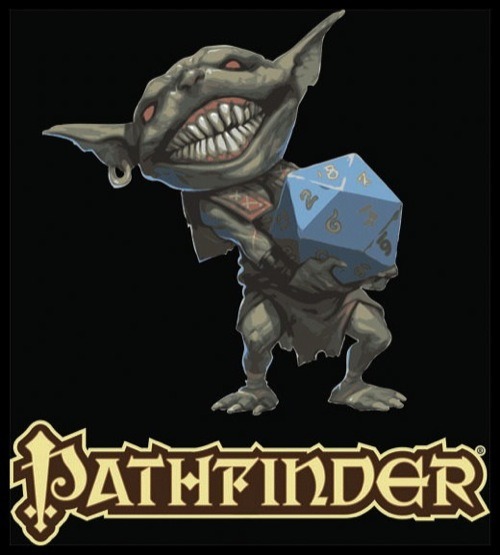
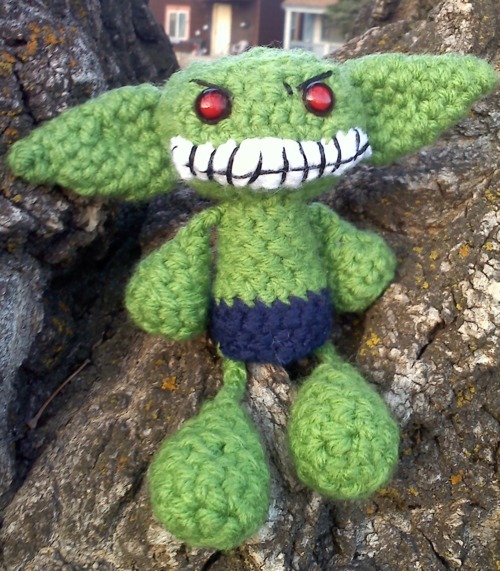
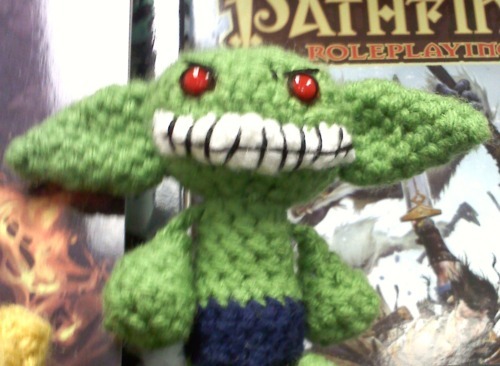
Well, maybe not really. But in the Pathfinder re-envisioning of goblins they have become a symbol for the company. Beady red eyes, huge gnashing maws, floppy ears, and a hero-worship of anything fire make these little monsters the favorite of many Pathfinder players.
This is the reason I developed an easy amigurumi crochet pattern for the little beasties. If you don't know how to crochet, but would like to learn, I highly recommend Hooks & Needles' website offering video tutorials.
If you're on Ravelry, HOOK IT here!
This pattern is free. Please use this only for gifting/personal purposes. This is not to be used for personal profit.
To create a goblin, you will need the following:
- 1 skein of worsted weight green yarn (acrylic or wool would be best)
- Red worsted weight for eyes, or glass/plastic safety eyes (I recommend 6060 Eyes for the best deal on quality eyes I've seen online...she has ones perfect for goblins!)
- 1 skein of any color worsted weight yarn (for the goblin's pants...these are optional)
- 4.0 mm crochet hook
- Crochet or embroidery needle
Abbreviations
sc — single crochet
st — stitch
sl st — slip stitch
ch — chain
sc2tog — single crochet 2 together (decrease)
sc — single crochet
st — stitch
sl st — slip stitch
ch — chain
sc2tog — single crochet 2 together (decrease)
4.00 mm hook
Head
Rnd 1: Form a magic circle with 6sc
Rnd 2: Work 2 sc in each st around (12 st)
Rnd 3: Work 2 sc in each st around (24 st)
Rnd 4-5: sc in each st around (24st)
Rnd 6: 2sc in st, sc in next st * 12 times (36 st)
Rnd 7: sc in each st around (36 st)
Rnd 8: sc2tog, sc in next st * 8 times (24st)
Rnd 9: sc2tog, sc in next st * 6 times (18st)
(eyes should go somewhere around here)
Rnd 10: sc2tog, sc in next st * 4 times (12st)
(Stuff the head to the desired fullness)
Rnd 11: sc2tog * 6 times (6st)
Rnd 12: slip stitch closed
Ears
Rnd 1: Form a magic circle with 6sc
Rnd 2: 2 sc in each st around (12 st)
Rnd 3-4: sc in each st around (12st)
Rnd 5: sc2tog, sc in next st * 3 (9st)
Rnd 6-7: sc in each st around (9st)
Rnd 8: sc2tog, sc in next st * 3 (6st)
Rnd 9: slip stitch to close
Body
Rnd 1: Form a magic circle with 6sc
Rnd 2: 2 sc in each st around (12 st)
Rnd 3-6: sc in each st around (12st)
Rnd 7: 2sc in st, sc in next* 6 times (18 st)
(if doing pants, switch color)
Rnd 8-9: sc in each st around (18st)
Rnd 10: sc in each st around ONLY in outer loop (18st)
Rnd 11: sc2tog, sc in next st * 6 (12st)
Rnd 12: sc2tog * 6 (6st)
Rnd 13: slip stitch closed
When stuffing body, stuff mostly with polyfill, then use poly pellets in the bottom before slipping closed. This will make him sit up despite his big head.
Arms
Rnd 1: Form a magic circle with 6sc
Rnd 2: Work 2 sc in each st around (12 st)
Rnd 3: sc in each st around (12st)
Rnd 4: sc2tog * 6 (6st)
Rnd 5: Work 1 sc in each st around (6 st)
Skip 1, sc 1, skip 1, sc 1, skip 1, sc 1
(this will cause it to close in the center)
Chain 2, close off
Attach to body just under each side of his head
Legs
Rnd 1: Form a magic circle with 6sc
Rnd 2: 2 sc in each st around (12 st)
Rnd 3-4: sc in each st around (12st)
Rnd 4: sc2tog, 2 sc * 3 (9st)
Rnd 5: sc in each st around (9 st)
Rnd 6: sc2tog, 1 sc * 3 (6st)
Rnd 7: Skip 1, sc 1, skip 1, sc 1, skip 1, sc 1
Ch 4, end
Attach to body just above final row of body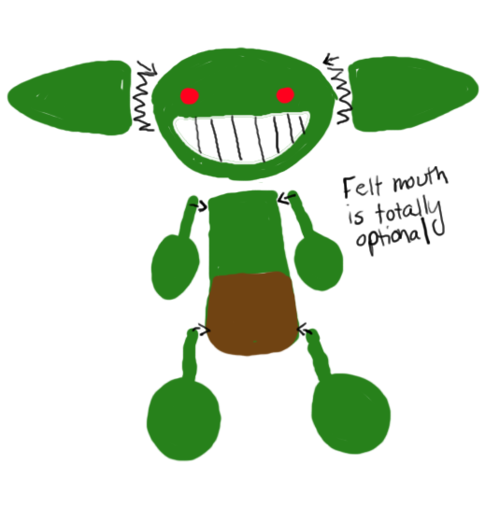
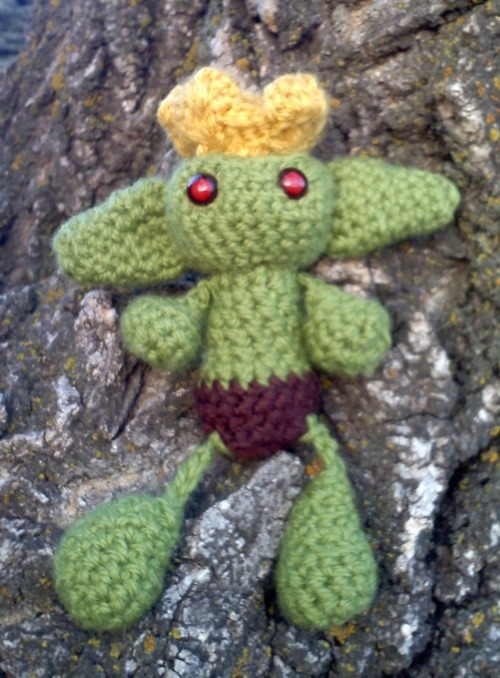
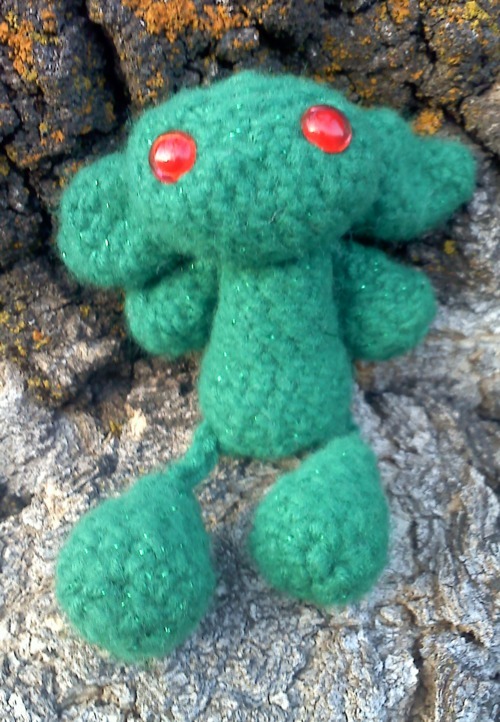
Assemble as seen above! If you don't have safety eyes, you can use buttons or embroider them in with embroidery thread or yarn. You can also add expressions, and accessories!
For a mouth, you can use felt or embroidery. A lot of my early feedback was that the goblins generally look cuter without a mouth. THAT, however, is up to you!
If you have any suggestions, questions, or have finished goblin pictures, please send me a message!
What size eyes do you recommend for this project? I want to get an idea before I purchase them. Thanks!
ReplyDelete